Jennifer Grigsby and McKenzie Elliott
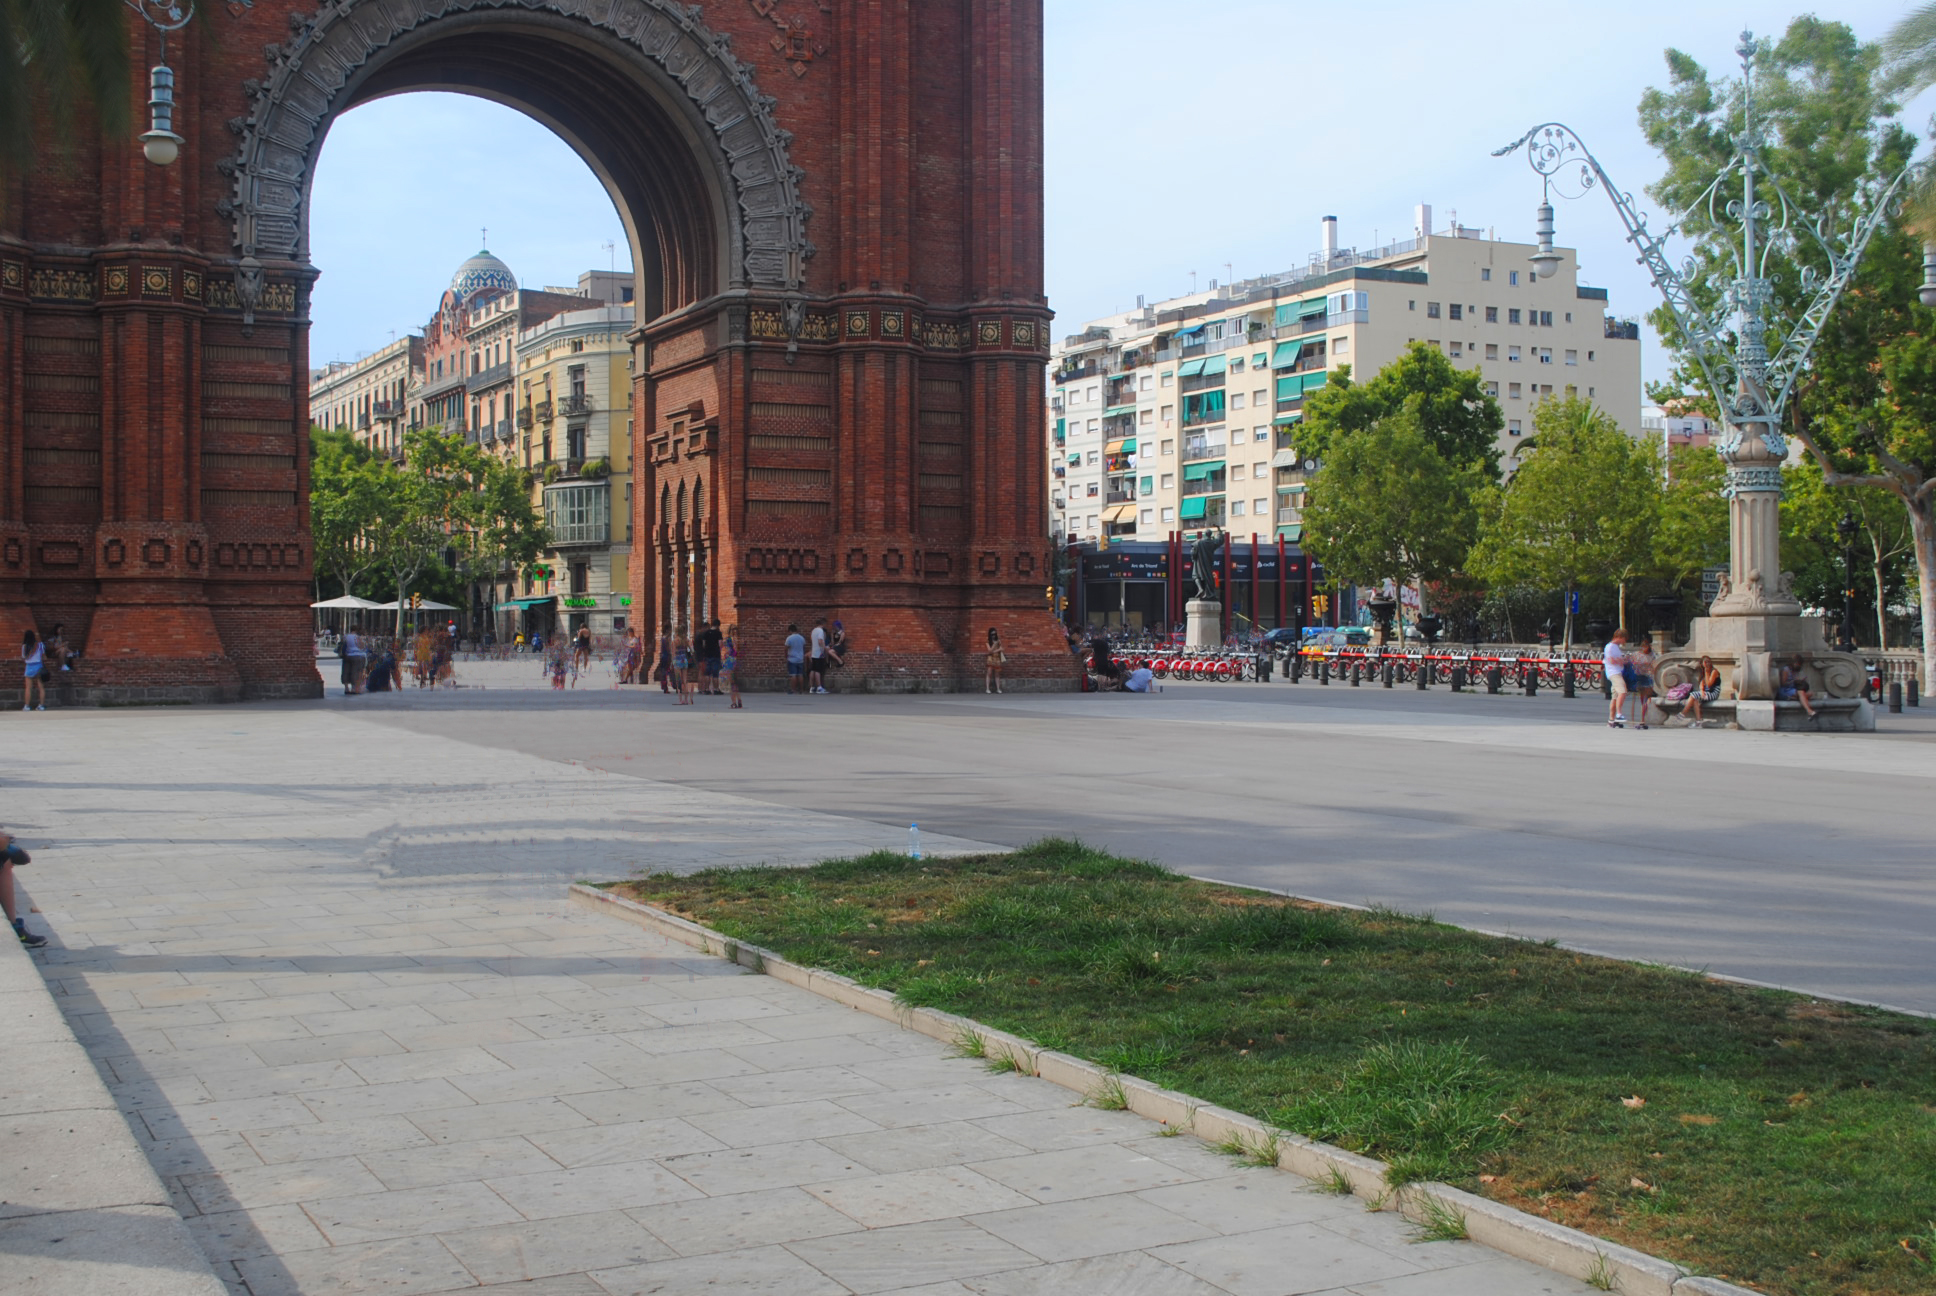
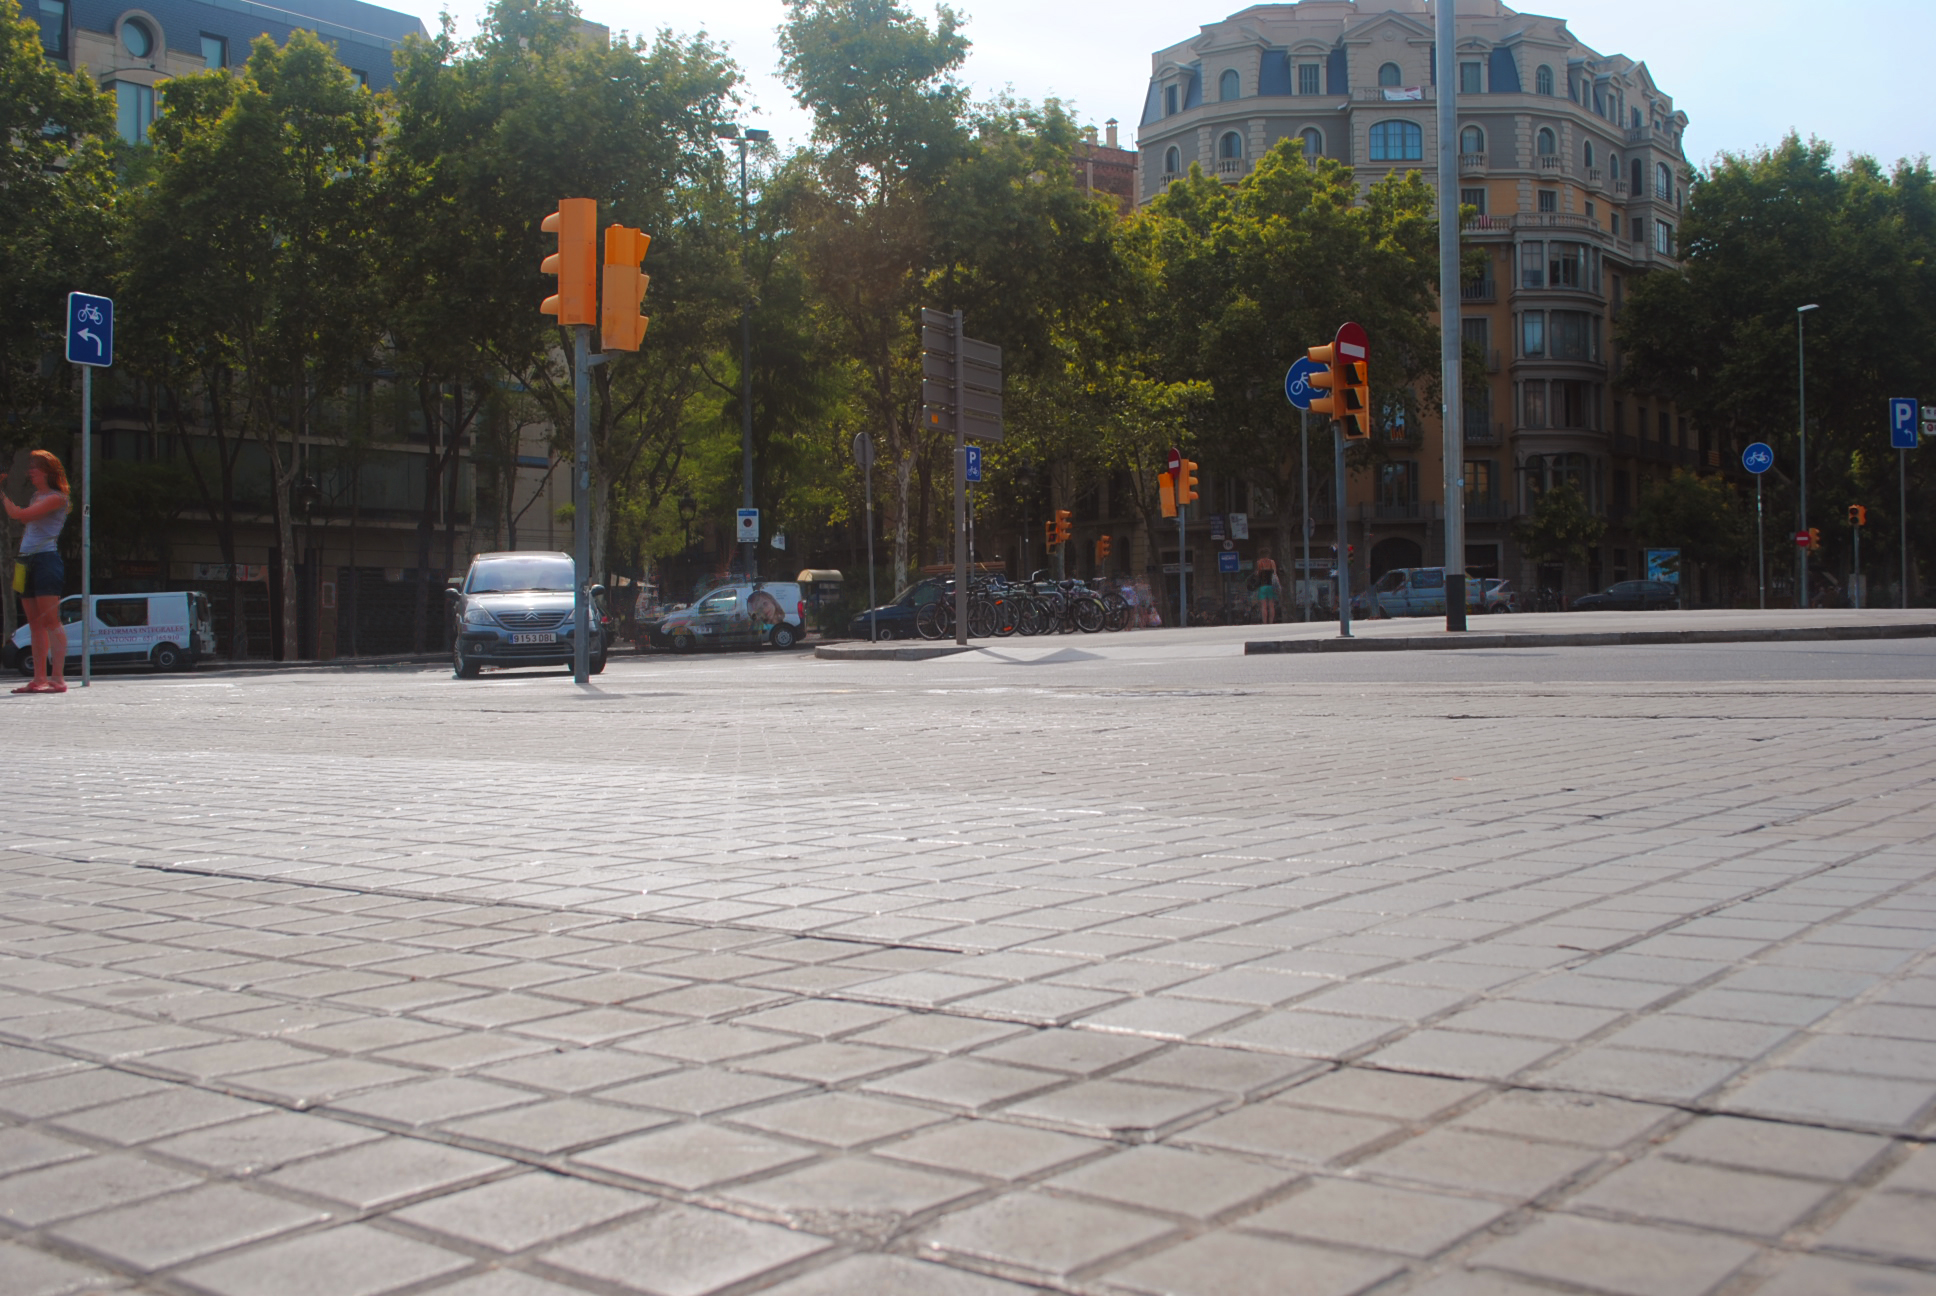
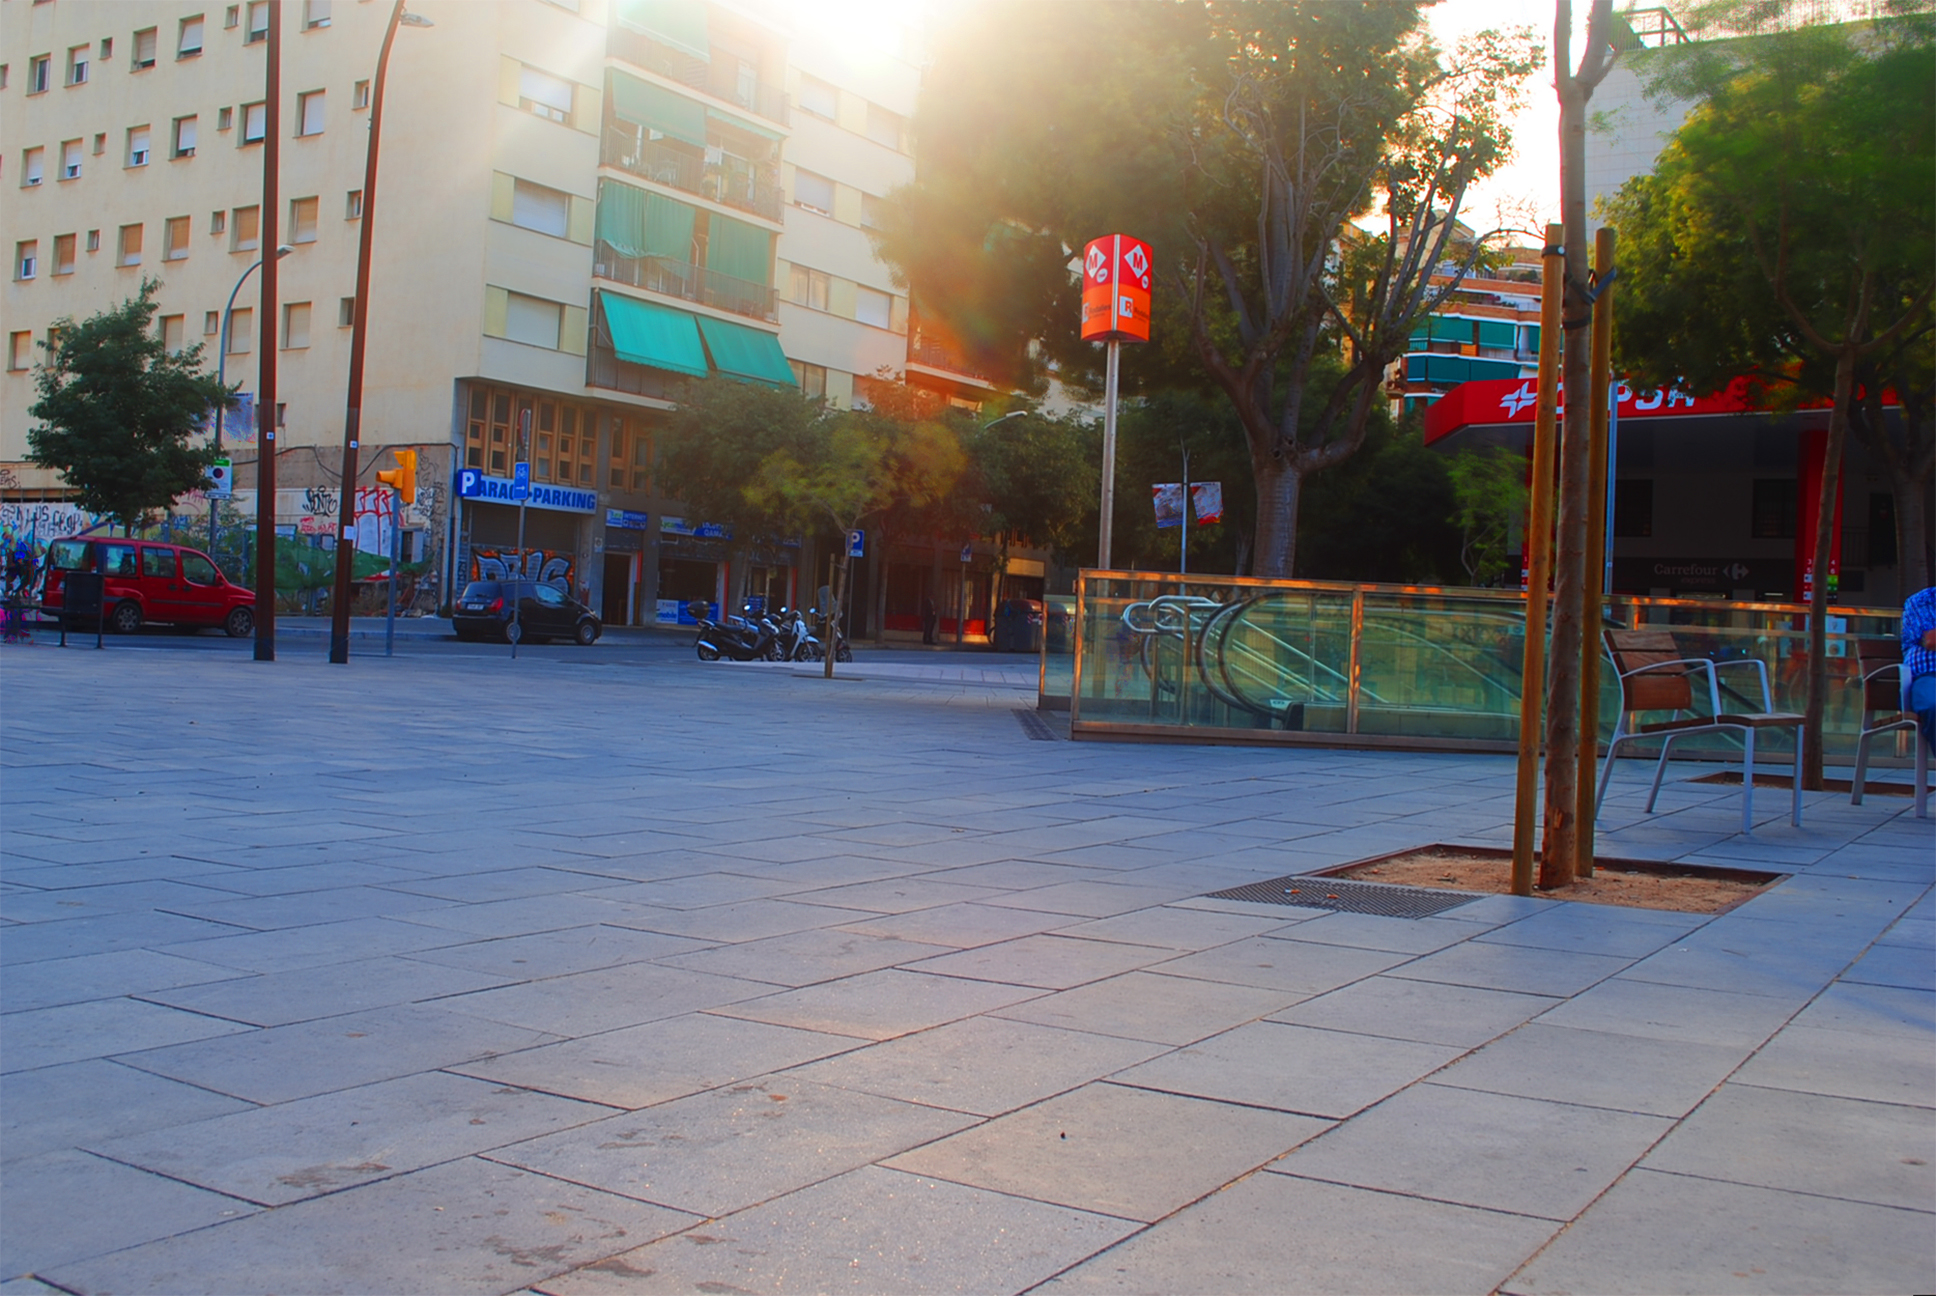
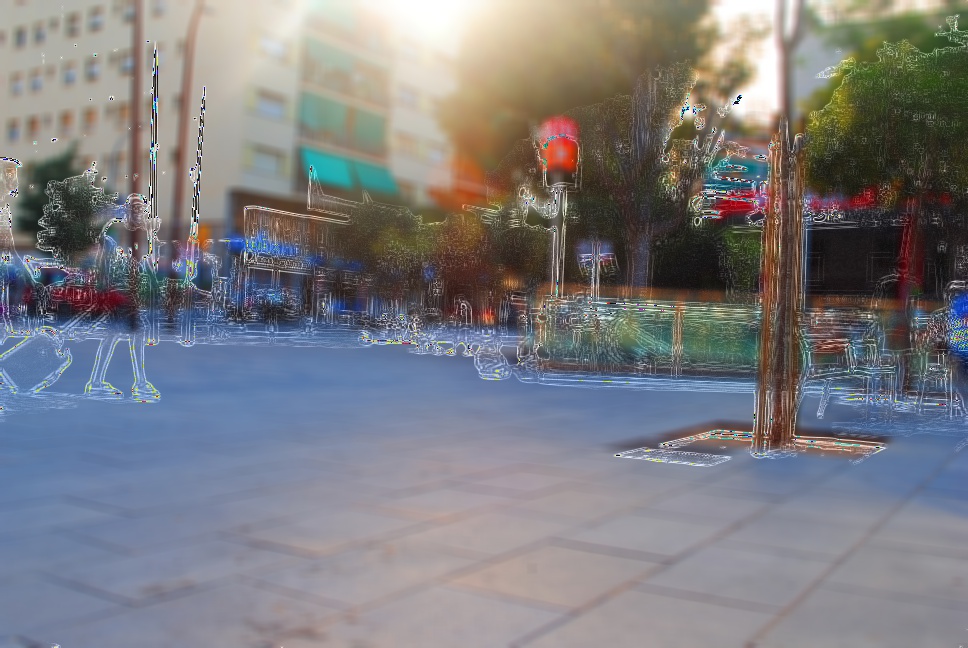
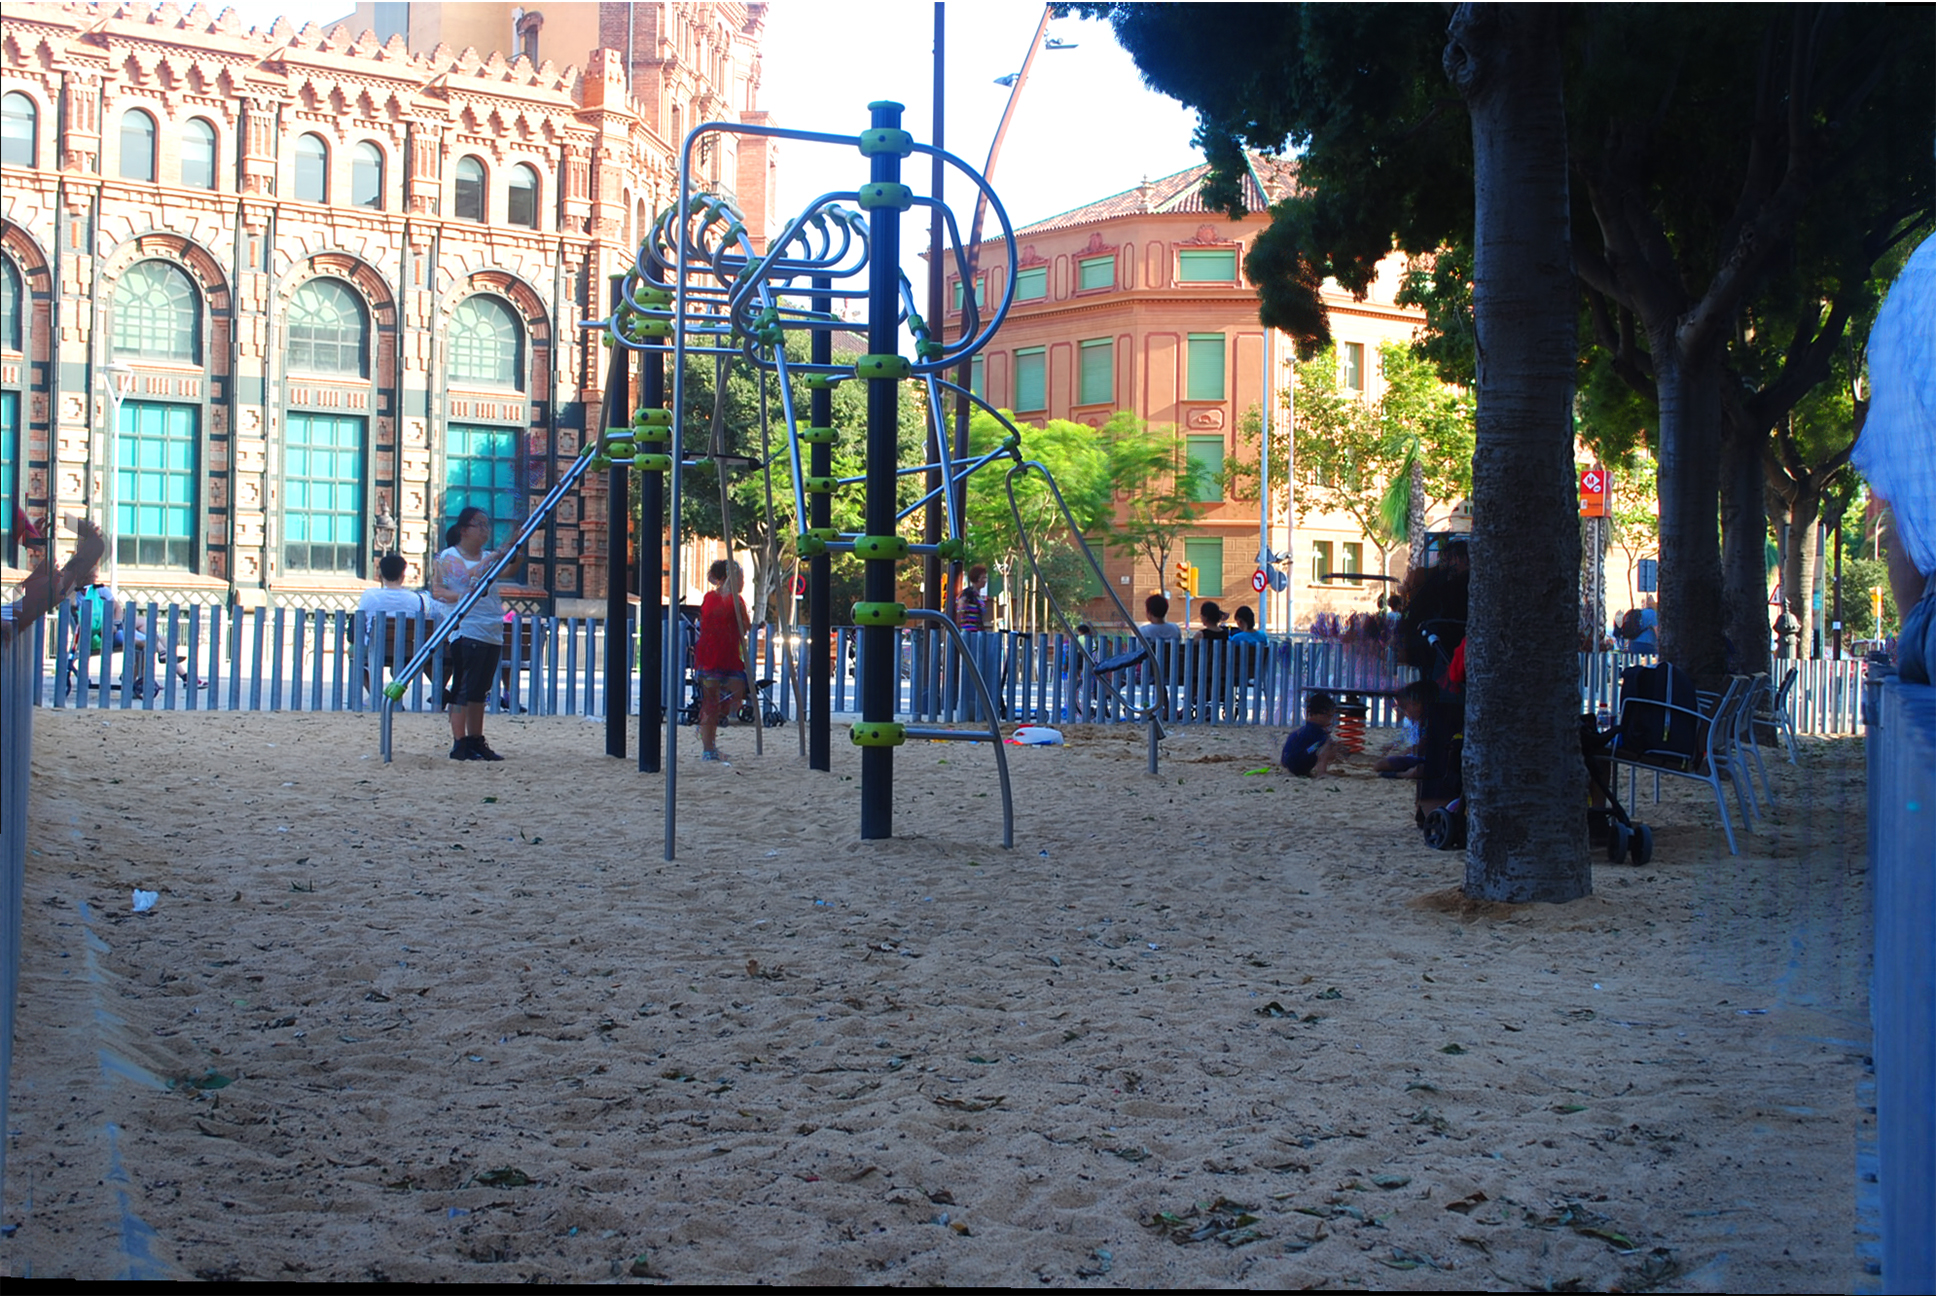
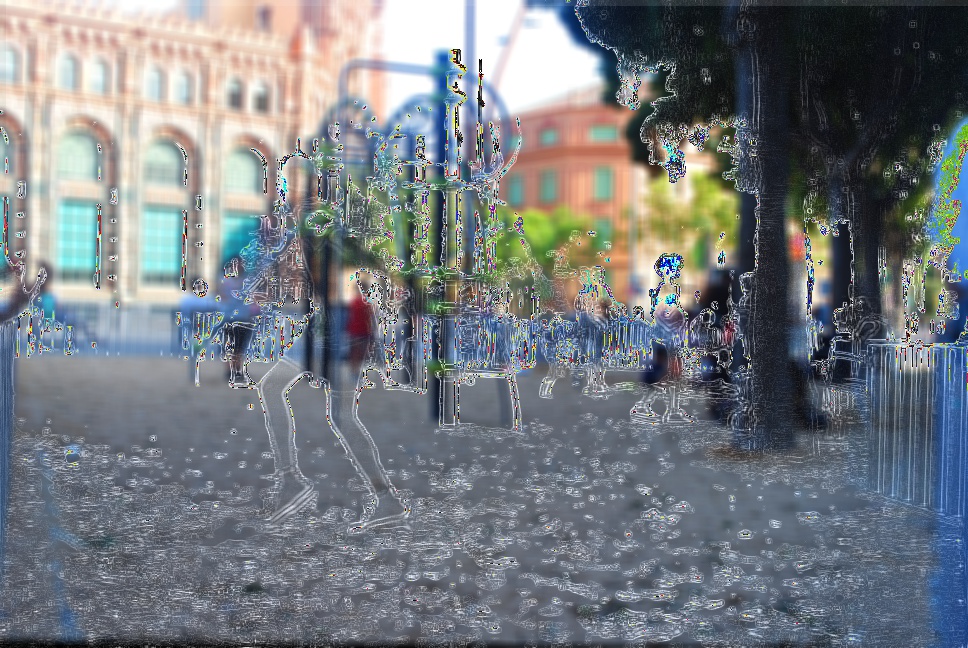
The purpose of our project is to reveal to a viewer the beautiful scenery of Barcelona while reflecting the typical life present in the area. To accomplish this feat, we utilized Photoshop to generate an empty image of a crowded area and used Python to generate an overlay of the busy street life on top of the barren, original scene.
More images can be found in the video above, starting at 1:43.
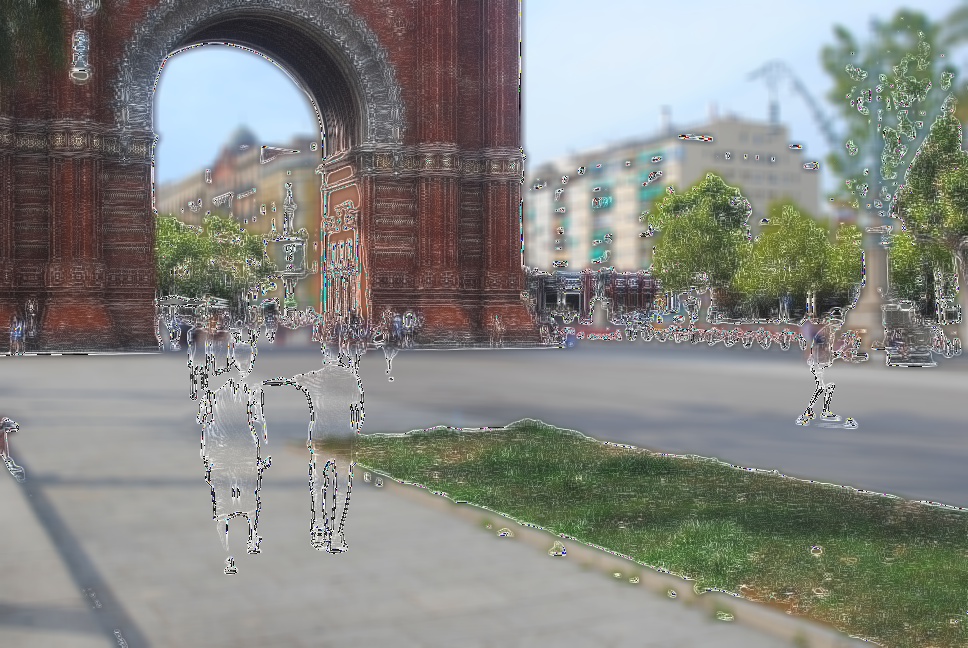
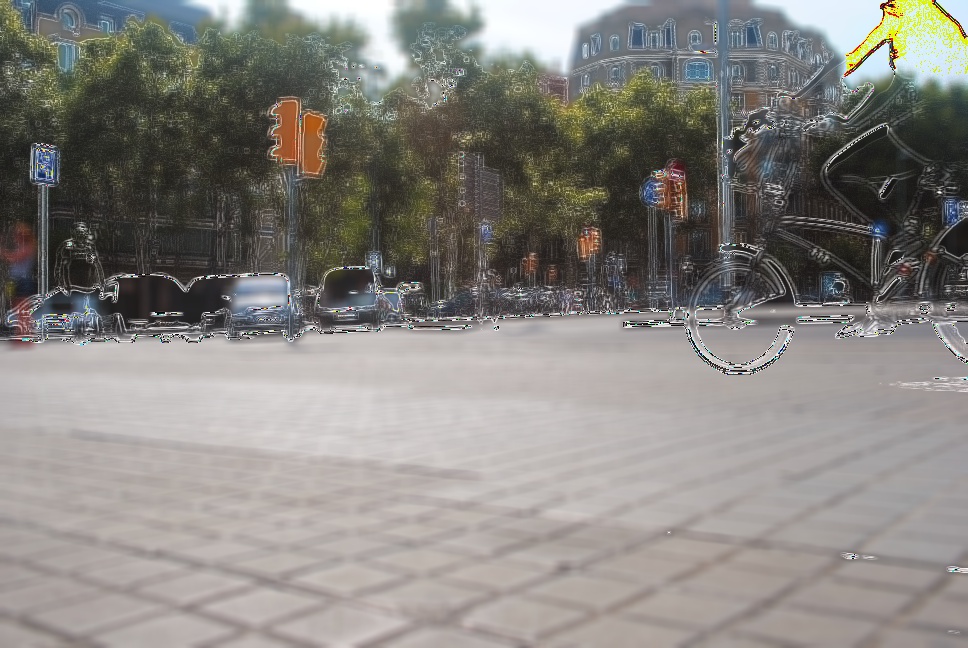
In order to artistically convey the bustling, daily life of the streets of Barcelona as well as display the beauty of the empty scenery, we utilized the combination of a number of tools that came together to produce our final, resulting images. To begin our project, we used a Nikon D3000 to collect a large number of pictures of a single area in order for us to have the ability to remove the people through Photoshop. Removing the people allowed for us to posses a view of the scenery when no people are present. After Photoshop produced the empty scenery, we used the combination of Gaussian Blurs, fillter2D blurs, and Laplacian pyramids to generate an outline of the key features of the life present within each scene. From there, the outline of typical daily life was overlaid onto the empty scene, combining the stillness of the building’s presence and the people who give it life.
To get rid of the people moving around in the scene in Photoshop, we went to File --> Scripts --> Statistics --> Median, and then selected all of the photos taken over time (about 20 for each scene). Photoshop then removed the people for us, leaving us with just the background of the scene itself, but it usually was not perfect. Some people didn’t move the entire time we took pictures, which was fine because they ended up being fully visible and not blurry. However, often when people’s line of motion was toward or away from the camera (in the Z direction instead of moving side to side/up and down in the X-Y plane), it confused Photoshop and left weird blurry marks on the image instead of getting rid of people cleanly. This was fixable though, using predominantly the Clone tool (worked really well with regular patterns like sidewalks and cement walls), with help from the Blur (mostly when the Clone tool needed a little bit of blending in to look natural), Dodge/Burn (to lighten/darken areas that needed to look more natural), and Sharpen (mostly for blurry areas on trees because they moved around quite a bit while we photographed) tools as needed.
Finally, the blurred image is added to the Laplacian image in order to be displayed and produce the overlay of the outline of daily life over the image of the empty scenery.