Project 1: Image Filtering and Hybrid Images
It's a bird! It's a plane! It's.....both?
For this assignment, we were tasked with taking two images that showed similar figures and creating a hybrid image out of them. This idea originates from the 2006 SIGGRAPH paper by Oliva, Torralba, and Schyns.
Hybrid images are created by removing different frequency ranges from two pictures, the high range from one of them, and the low range from another image. Once this has been done, the two images can be combined. Due to how humans perceive images, the high frequency image can be seen when we are close to the image, but when we back away from it, we can't perceive the high frequencies as well, so the low frequency image comes more clear and apparent.
my_imfilter.m code
The following is the code I used in my implementation of the my_imfilter method to apply a given filter to a given image.
After getting the size of both the image to be filtered, and the filter itself, I created a new matrix to hold the filtered pixels,
then padded the original image to allow the filter to work properly on the edge pixels of the images. The filtering of the actual image is
carried out within the body of the 3 nested for loops. The loops iterate through the color channels, rows, and columns (in that respective order) to get the
current neighborhood that will be used to apply the filter. Once inside the three loops, the neighborhood itself is calculated, and then the filter is applied
by calculating the result of the 2d filtering equation discussed in class, and assigning the result to the current pixel. This is continued all the way through
The pictures to apply the filter to the image, then the image is returned.
%% Gathering information and prepping image for filtering
[imageHeight, imageWidth, imageChannels] = size(image); % get the dimensions of the input image
[filterHeight, filterWidth] = size(filter); % get the dimensions of the input filter

filteredImage = zeros(imageHeight, imageWidth, imageChannels); % create a new matrix to hold the filtered values

heightPadding = floor(filterHeight / 2); % determine the padding needed for the height
widthPadding = floor(filterWidth / 2);   % and the width

image = padarray(image, [heightPadding, widthPadding]); % pad the input image so it can be properly filtered

%% Filtering image
for channel=1:imageChannels     % loop through each color channel
   for row=1:imageHeight        % loop through each row
       for column=1:imageWidth  % loop through each column

           rowRange = row:row + filterHeight - 1;           % get the range of rows in the image
           columnRange = column:column + filterWidth - 1;   % get the range of columns in the image

           % filter the pixel and assign it
           filteredImage(row, column, channel) = sum(dot(filter, image(rowRange, columnRange, channel)));

       end
   end
end

%% Output filtered image
output = filteredImage;
Results
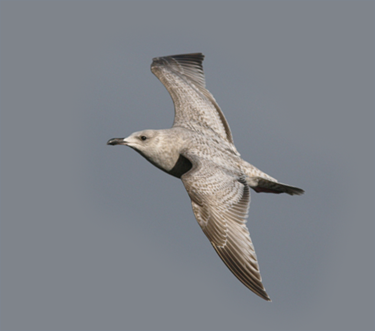

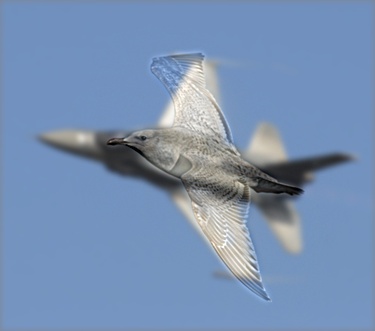
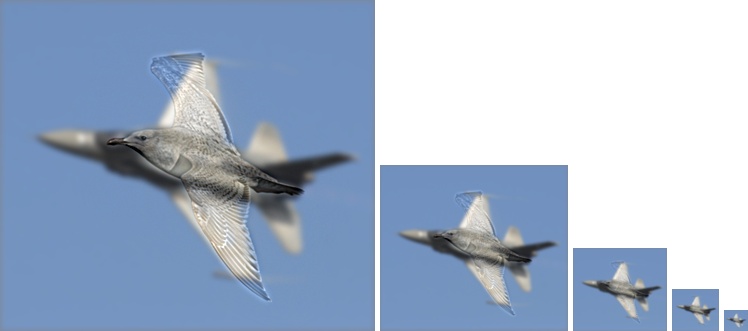
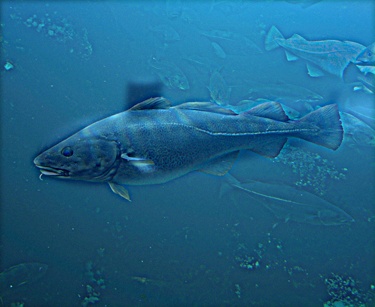
|


|
The table above shows the different stages each picture underwent before showing the final, finished hybrid image. The first images are the original images, with no filtering applied. The second images are the results after the images are filtered using a Gaussian filter. For this hybrid image, the bird image retained its high frequencies, and the plane image retained its low frequencies. The final two images are the final hybrid image, shown at its full size, and smaller sizes to simulate the effect of seeing the image from further away. As the scaled images show, the plane becomes more apparent as you get "further away" from the image, and the bird becomes more visible as you "get closer" to the image.
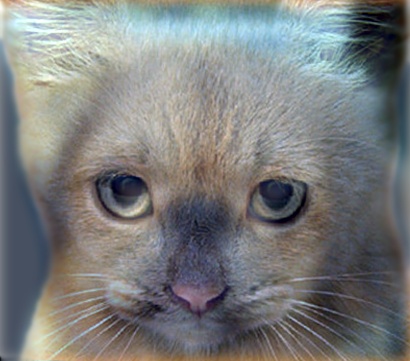
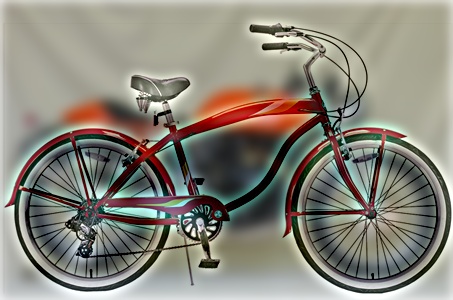
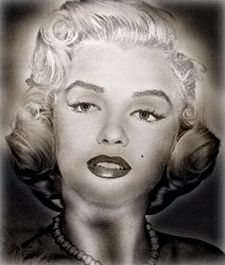
The table below shows the remainder of the hybrid images I created.
|