Project 1: Image Filtering and Hybrid Images
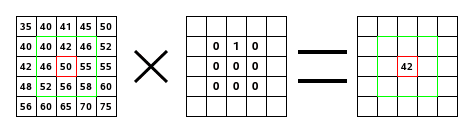
This is an example of how filters are applied and how they reduce to a kernel. This is performed for every pixel.
In this project, I performed image filtering with MatLab. Firstly, the image was split into red, blue, and green value matrices, and the filters were applied to each matrix individually. I created a helper function in order to perform this. The size of the filter must be considered because it can be any odd by odd dimension. MatLab libraries were used in order to figure out the size of the filter and the original image. I created a zero matrices of the image size in order to fill in the new image instead of overriding the old image. Overriding the old image would be inconsistent because pixels would be changing as the filter is applied.
Filtering detailed
An image has to be padded in order to filter it because the filter has to fit the borders of the image, since the kernel (the center pixel of a filter) is used to change pixel values. A 3x3 filter would need a padding of 1 pixel on all sides of the image because the center pixel of the filter would have to fit on the edge of the original image. The size of the filter can be calculated basically with a math equation. It is merely half the width and height of the filter dividing 2 rounded down. This is because the border needs to compensate for all the pixels up to the kernel center pixel. Thus in the outer forloop, I loop between row padding plus 1 to the image row size + row padding. This is also done for the column padding. When performing the math of the convolution filter, I merely just subtract the padding from current loop number and add the padding in order to get the corresponding piece of matrix in the image to filter. A .* operation is then performed on the matrix, which puts all the products of each corresponding pixel and the filter pixel in a vector. We simply take the sum of this vector in order to calculate the kernel value, and this is set to the corresponding pixel in the output image. This was very easy to implement because MatLab performs all the operations for you in an efficient manner.The filtering portion of the code
Below is the code for the filtering. .* multiplies the filter with the corresponding matrix and outputs a vector of values. The sum function cumulates the sum and returns it to a pixel in the output matrix. padr is the row padding, while padc is the column padding. image_s(1) corresponds to the image original row size, and image_s(2) corresponds to the image original column size.
for R=padr+1:image_s(1)+padr
    for C=padc+1:image_s(2)+padc

        temp = image(R - padr: R + padr, C - padc : C + padc) .* filter;
        output(R - padr, C - padc) = sum(temp(:));
    end
end
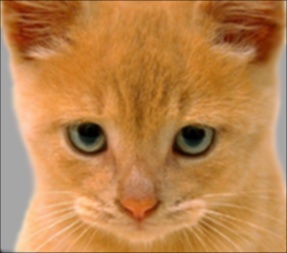
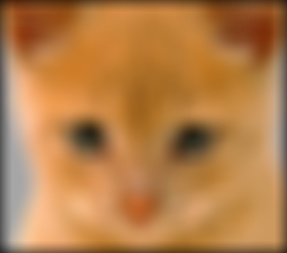
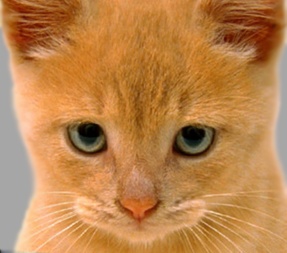
Results in a table
|
|
|
|
|

|
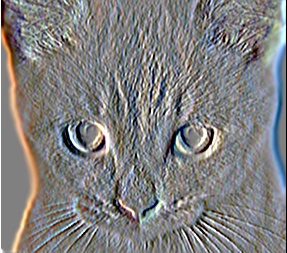
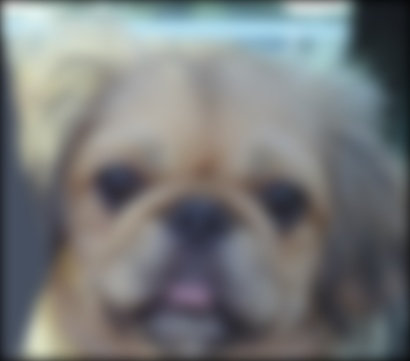
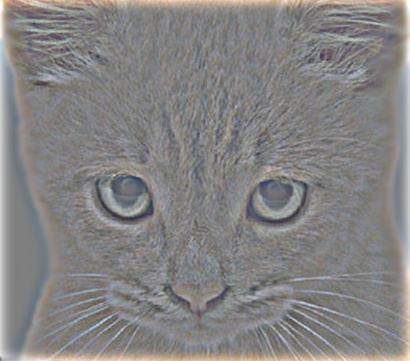
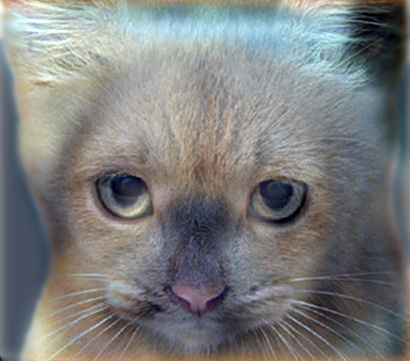
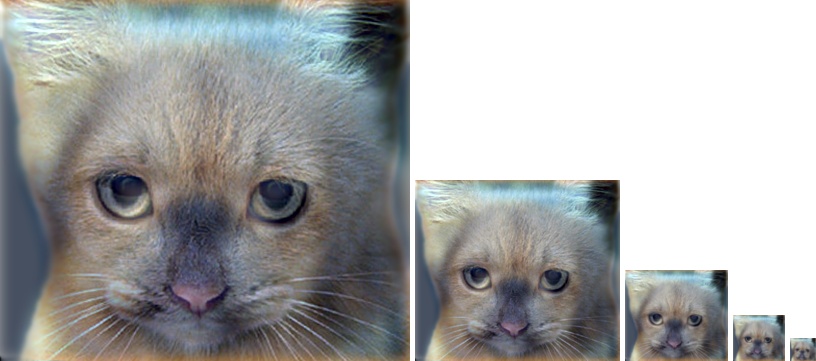
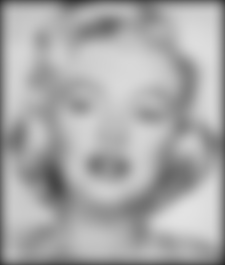
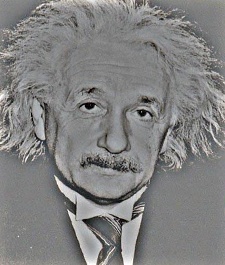
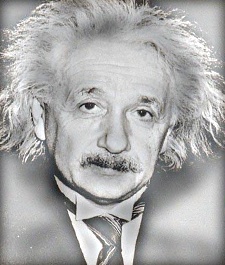
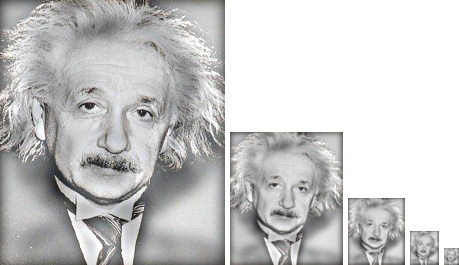
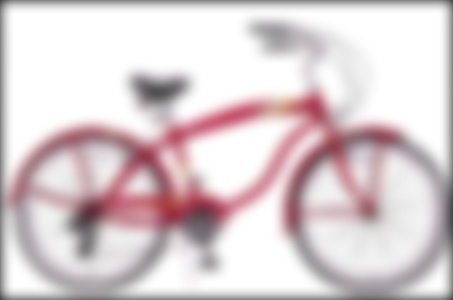
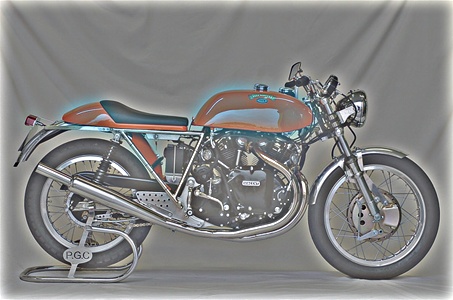
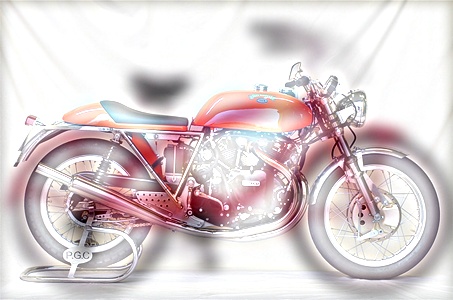
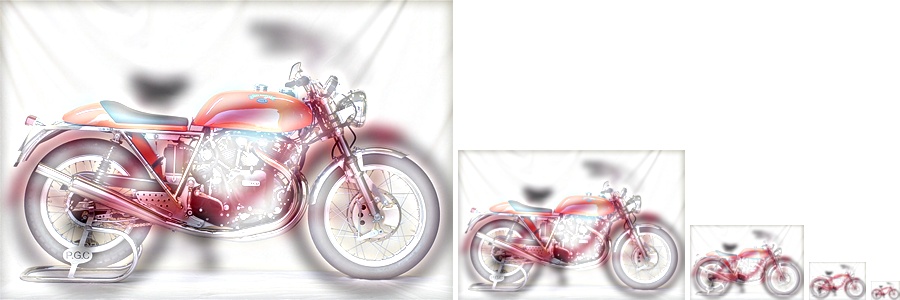
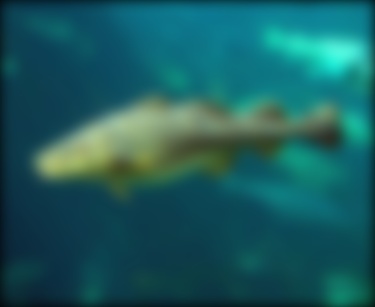
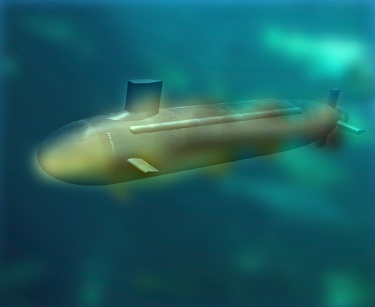
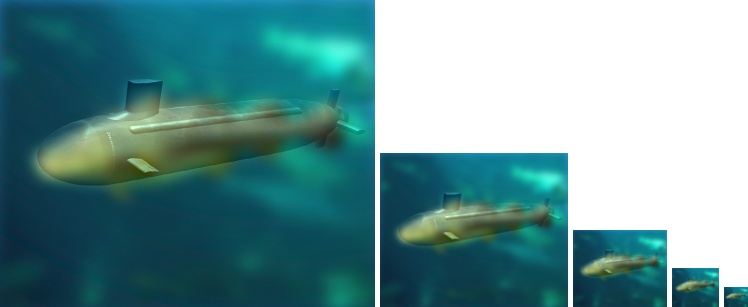
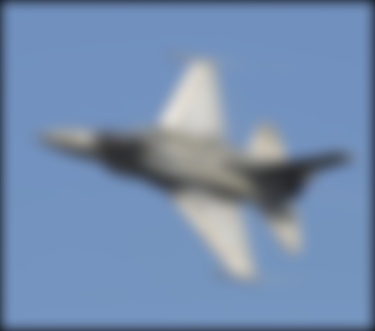
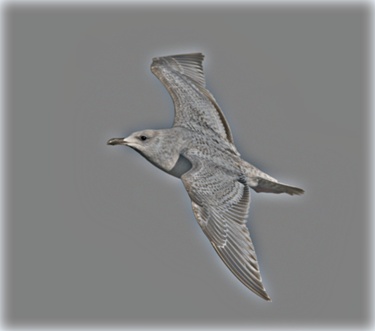
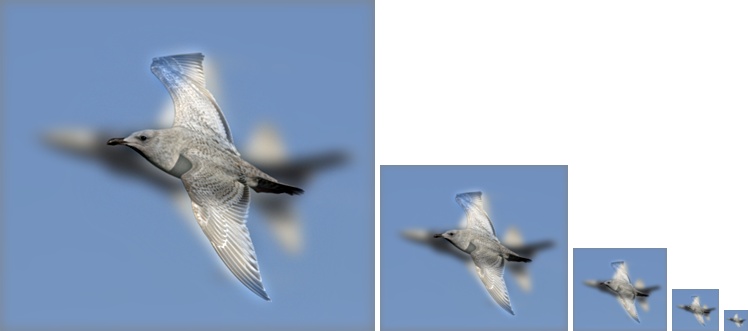
The top 4 images are regular images with a filter matrix applied. The rest of the images are hybrid images. The first one to the far left was filtered with a low frequency, while the right one next to it was filtered with a high frequency. The two filtered matrices were then added together to output the hybrid image result. The code for the filtering and combining can be seen below.
low_frequencies = my_imfilter(image1, filter);
high_frequencies = image2 - my_imfilter(image2, filter);
hybrid_image = low_frequencies + high_frequencies;