The Video Pipeline

Step 1

Shoot a clean (background) plate without the object inserted
 

Step 2

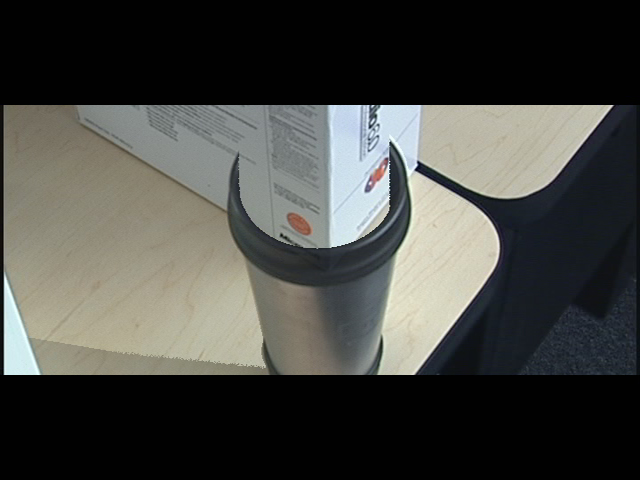
Without moving the camera, insert the object(s) that are going to be rendered into the scene. This will be the foreground plate.
 

Step 3

Gather/Determine the depth information for the scene...there were two ways originally conceived to do this:

  • Using stereo (3D) cameras to shoot the footage
  • Calibrating multiple regular cameras, importing the foreground plate into Maya® make a rough model of the object(s), and then export the depth information maps

Stereo Cameras : Pros/Cons

  • Pro: - Easy...you get the video and the depth information simultaneously
  • Pro: - We already had many of the most popular high end stereo camera kits in the lab that were easily accesible
  • Con: - Most cameras are greyscale with a resolution of 320x240 and the color cameras have a max resolution of 640x480 and an extremely low frame rate (somewhere around 5 fps)
  • Con: - The color cameras had horrible colors
  • Con: - The depth information wasnt' accurate nor clean enough to be useful without developing some program to try to clean the data (another senior project in its own right)
  • Con: - These cameras have to be tethered to a computer

Creating 3D Models : Pros/Cons

  • Pro: - Finer (better) Z (depth) resolution
  • Pro: - I already had access to a pipeline for calibrating cameras in Maya®
  • Pro: - I was able to determine that I could use checkerboard patterned linoleum as a large calibration pattern.
  • Con: - Difficult and time-consuming...especially for a casual non-expert modeller such as myself.
  • Con: - Dealing with those huge (12'x12' and 6'x12') rolls of linoleum was difficult (and heavy) and impossible to work with in closed confines
  • Con: - The linoleum would have to be put in place and removed before each item was placed in the scene
  • Con: - To make modelling easier, at least two cameras would be needed and keeping a second camera in a usable location, while out of view of the main camera and many other logistical matters of running two cameras made it even more difficult.

Conclusion: These sets of difficulties meant that the stereo camera option was out of the question and doing 3D modelling would be the solution, but a very difficult one. Then a third solution (not very technical, but convenient, fast, and with "good enough" results was proposed by my friend Arno Schoedl; Using a paint or image program and synthesizing the depth information with gradients. It would be fairly fast (each object usually took less than 2 hours to create a decent depth map), as accurate as the amount of time I was willing to spend, and I could create some interesting ("cool") renders by creating depth information that isn't accurate. (Best of all, I made the SIGGRAPH ET deadline, although I didn't get in)
 

Step 4

Take the clean (background) plate, the foreground plate, and the depth information map and feed them into the renderer. The area to render, the number of frames to draw in the object, the Z-depth (thickness) of the slices to use, and the height of the scan lines can all be specified in the renderer. With this data, the renderer will spit out the video sequence


[ Return to the Schrodinger page ]