The Video Pipeline
Step 1 |
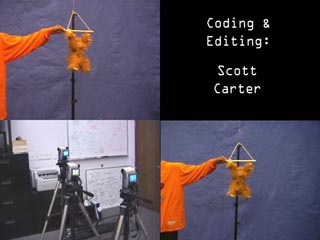
Film footage using a camera (CAMERA1) aimed at a particular area and another camera (CAMERA2) focussed an object/area within the view of CAMERA1. More cameras can be added at different zoom levels and locations for different combinations of effects. Note: The effect works the best when the cameras are within a relatively close radius of one another...less than a couple of feet works best for all scenes. |
Step 2 |
Import the footage from all of the cameras into a video editing program and synchronize all of the footage files. Mark frames for all of the files at which the video is synchronized...or (our method) trim the video files to the synched section and e xport them to produce synchronized files from beginning to end of the same size/length. |
Step 3 |
Take two sychronized frames from the two footage files that you want to perform the interpolation between. Use a photo editor such as Photoshop to import the frames as two layers and then size and position the closer/zoomed frame over the wider shot until you have an approximate match. Record the x & y co-ordinates of the bottom-left corner of the zoomed image and determine the percentage of the original frame size. |
Step 4 |
Set variables in the algorithm/program to feed in the source and destination footage files and the co-ordinates and percentage found in the previous step. You can also adjust variables that determine at which frame to start the effect and the number of frames that you would like to perform the effect on. The program will produce a file that is the completed morph sequence, ready to be used in a compilation. |
The Effect: Step by Step (when zooming IN)
There are many more minute details to how the effect works, but I don't want to explicitly spell out the entire technique...even though Georgia Tech now owns all of my code which will be inherited by the next class!
Elements
Film footage from two cameras.
One camera focussed on an object and another camera capturing a wider shot of the area surrounding the view of the first camera.
Step 1 |
Starting from the wide shot, the entire frame is blurred to simulate a loss of focus. |
Step 2 |
The synchronized frame from the closer/zoomed footage is scaled and transformed appropriately and merged onto the frame. The border of the zoomed image is also blurred. |
Step 3 |
Perform a slight blur over the entire frame. |
Step 4 |
Repeat Steps 1 thru 3 on successive frames, incrimenting the size of the overlayed image until the zoom is complete. |